AI摘要:文章介绍了如何利用 Kimi 和豆包 AI 来帮助编写简单的 Python 代码,例如挂机脚本。步骤包括安装 Python 环境、使用 Visual Studio Code 编辑代码,并借助 AI 提供的代码框架进行修改。通过图像识别,使用 pyautogui 或 OpenCV 库编写自动化脚本,可以实现自动点击、鼠标移动等功能,即使没有 Python 基础,也能通过 AI 自动解决报错和命令问题。
Powered by AISummary.
AI 发展的越来越好了,连我这种完全不了解 python 的人都稍微了解了一些,而且入门难度好低。不由得感叹
1,先去 https://www.python.org/ 安装好环境
2,Visual Studio Code – Code Editing. Redefined 安装 vs code 这个也是免费好用的工具,可以让我这种小白清晰可见代码,代码可视化
在 vs code 安装好插件即可使用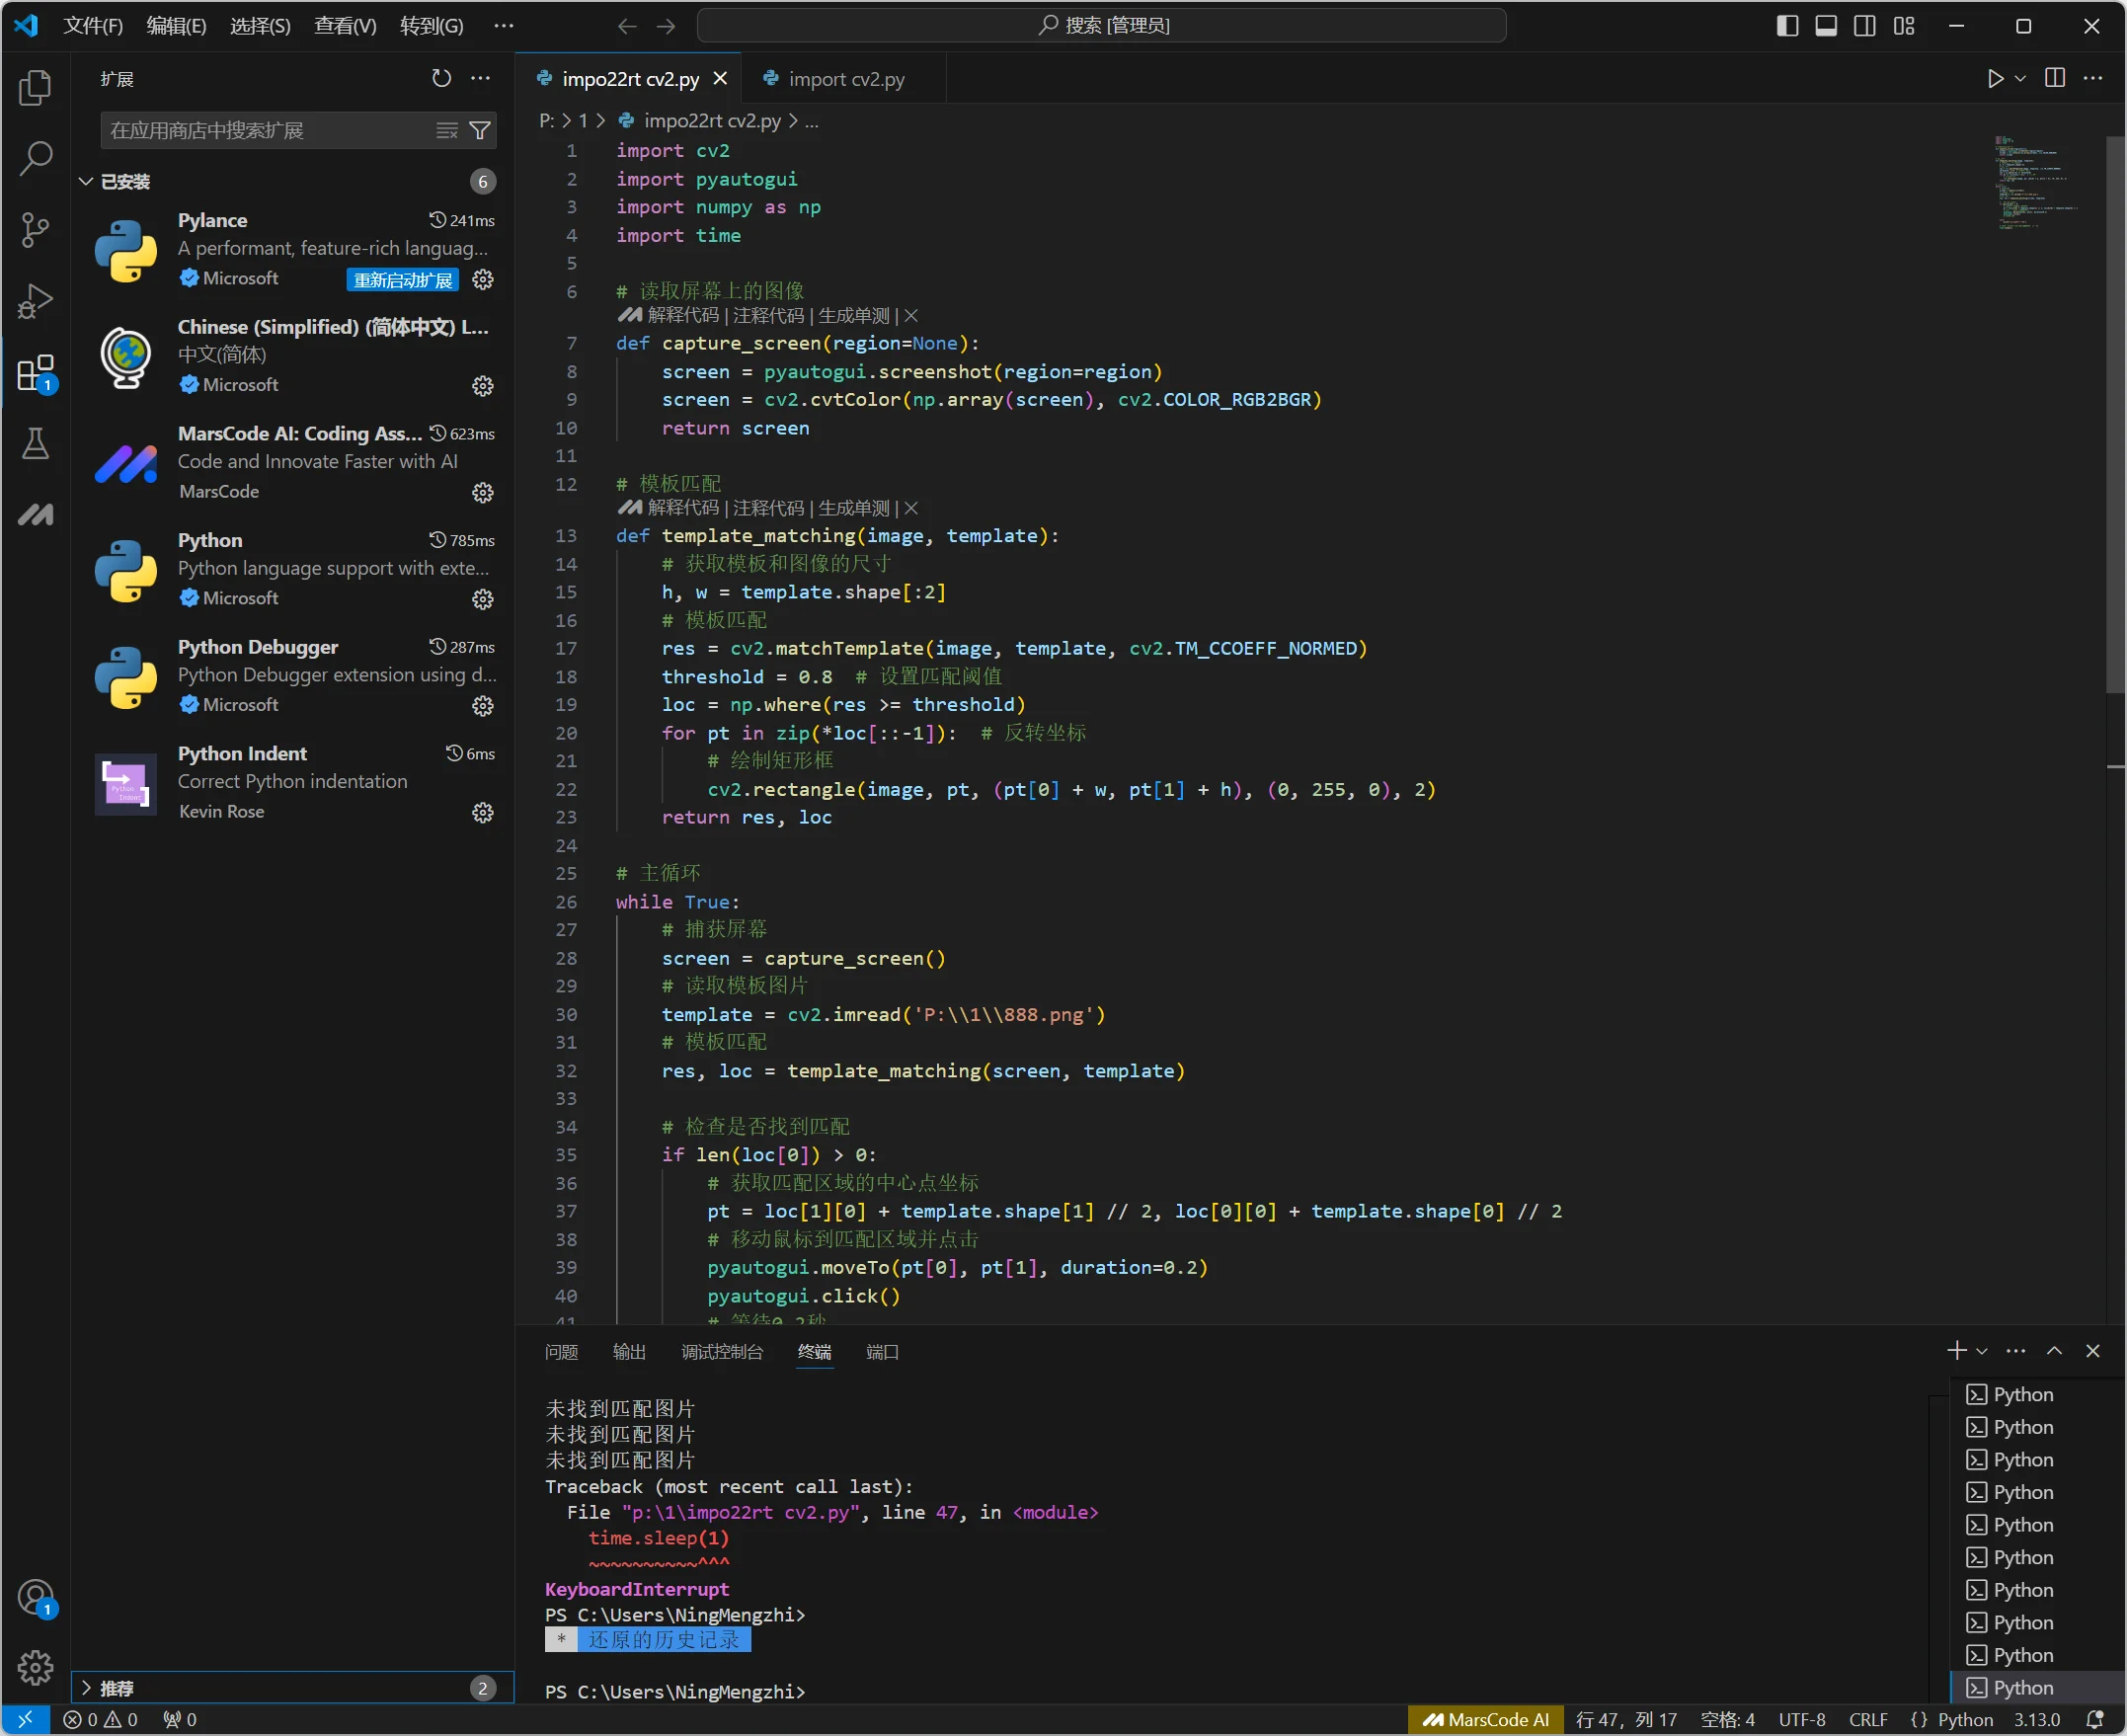
接下来就是开始使用 kimi,以及豆包两种 AI 去直接提出我们的需求,比如我需要它给我一段 简单的识别屏幕图像 然后去点击,也就是挂机脚本。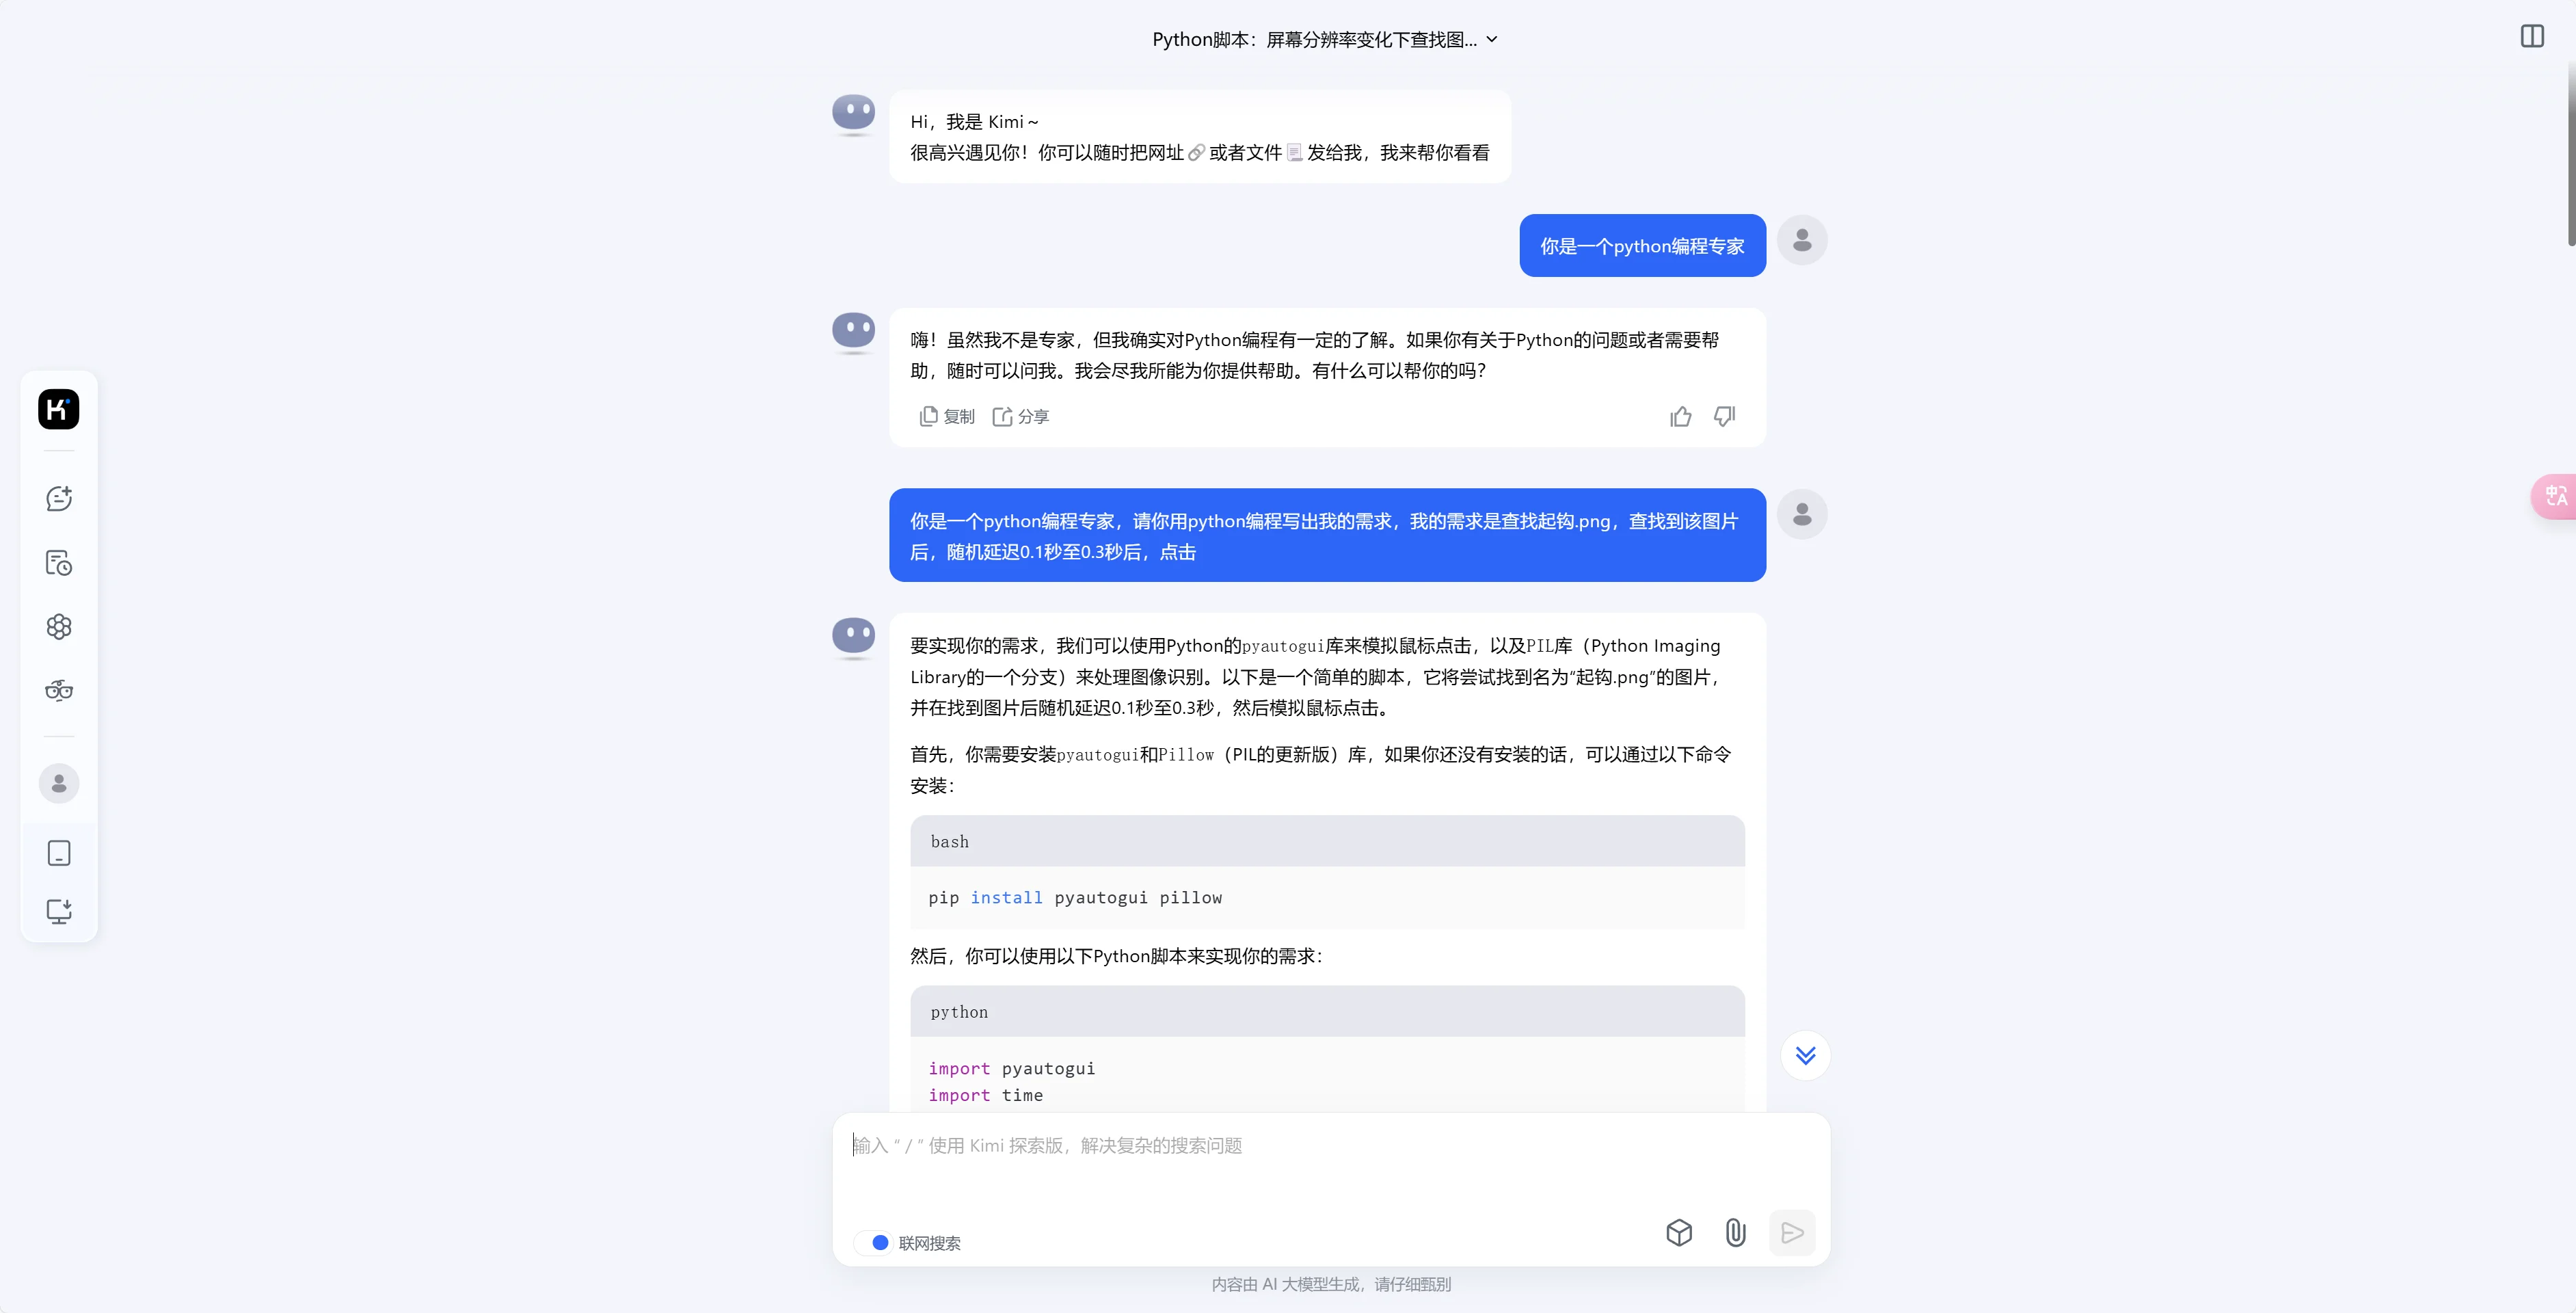
import pyautogui
import time
import random
from PIL import ImageGrab

def find_image(image_path):
"""在屏幕上查找图片的位置"""
screenshot = ImageGrab.grab()
try:
image_location = pyautogui.locateOnScreen(image_path, confidence=0.8)
return image_location
except pyautogui.ImageNotFoundException:
return None

import pyautogui
import time
import random
from PIL import ImageGrab

def click_image(image_path):
"""查找图片并点击"""
image_location = find_image(image_path)
if image_location:
print(f"图片 {image_path} 找到,位置:{image_location}")
# 随机延迟 0.1 秒至 0.3 秒
time.sleep(random.uniform(0.1, 0.3))
# 点击图片位置
pyautogui.click(image_location)
print("点击图片")
else:
print(f"图片 {image_path} 未找到")

# 使用函数
click_image('起钩.png')
我们提出的问题,AI 给出的答案是大概的,其中详细的参数需要自己填写,复制上面这段代码进入 vs code,新建一个 python 文件,粘贴,运行会报错,因为需要的库没有安装
import pyautogui
import time
import random
from PIL import ImageGrab
在 vs code 调试输出处会直接给出安装库命令,非常好用,只不过安装源不是国内,你只需要复制 vs code 提出的建议命令到 kimi/ 豆包 AI,举例子:import pyautogui 帮我替换国内的源
如果需要写一个简单的挂机脚本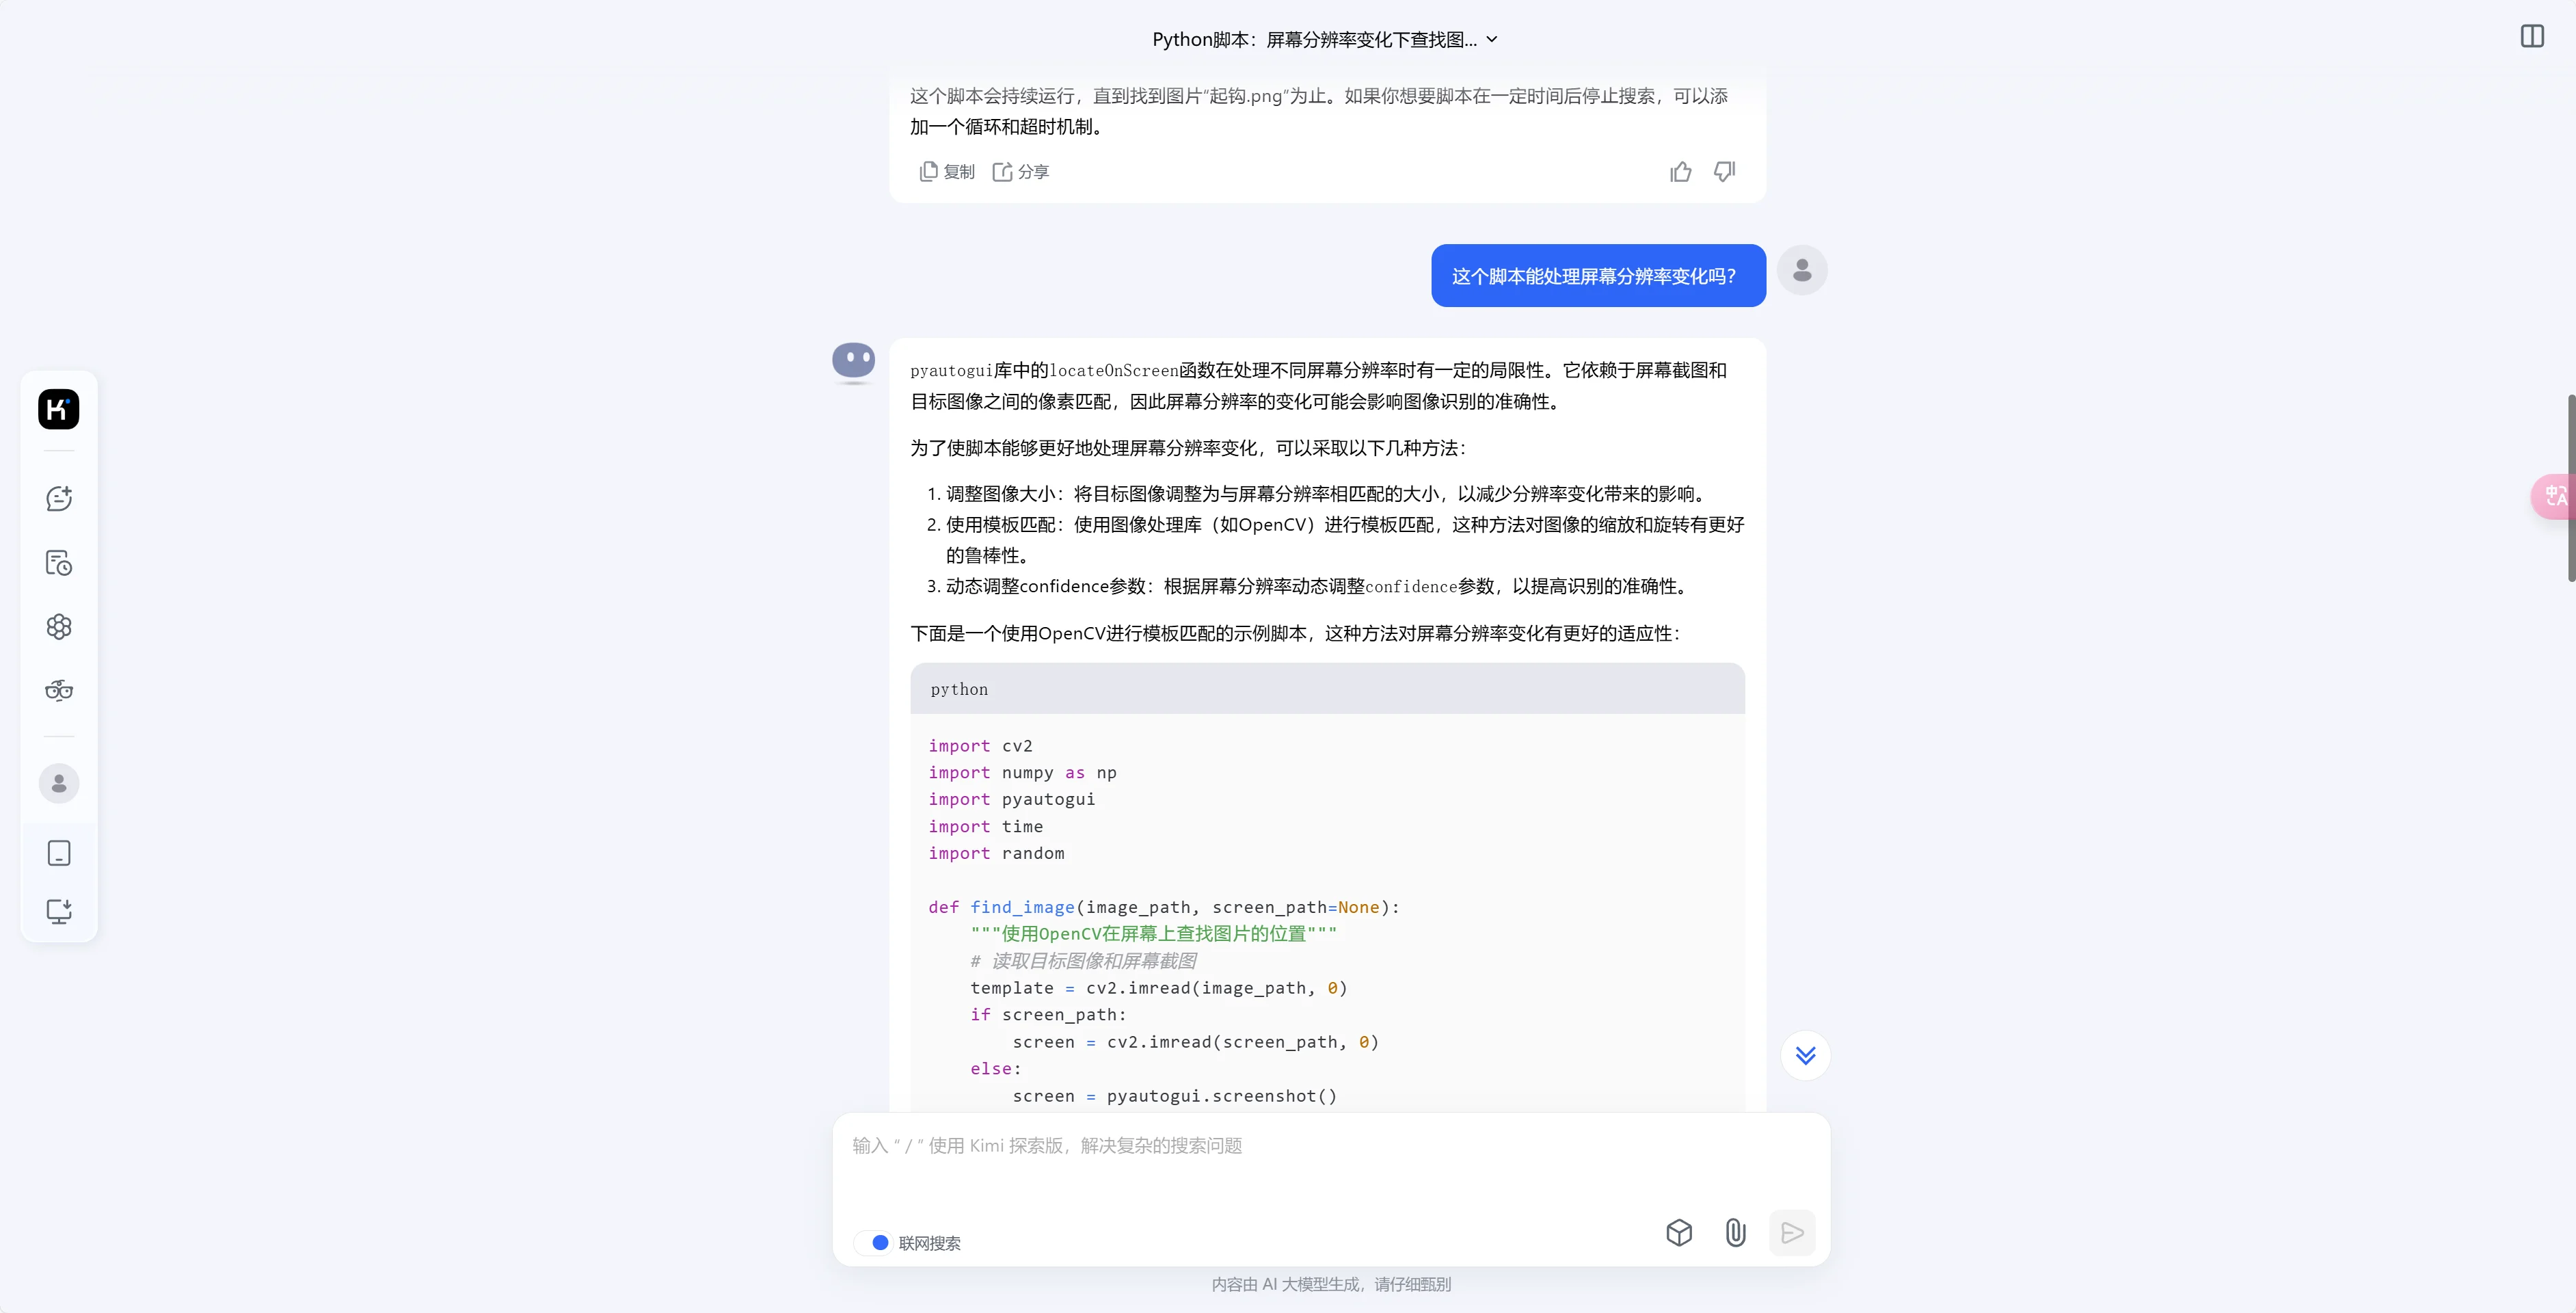
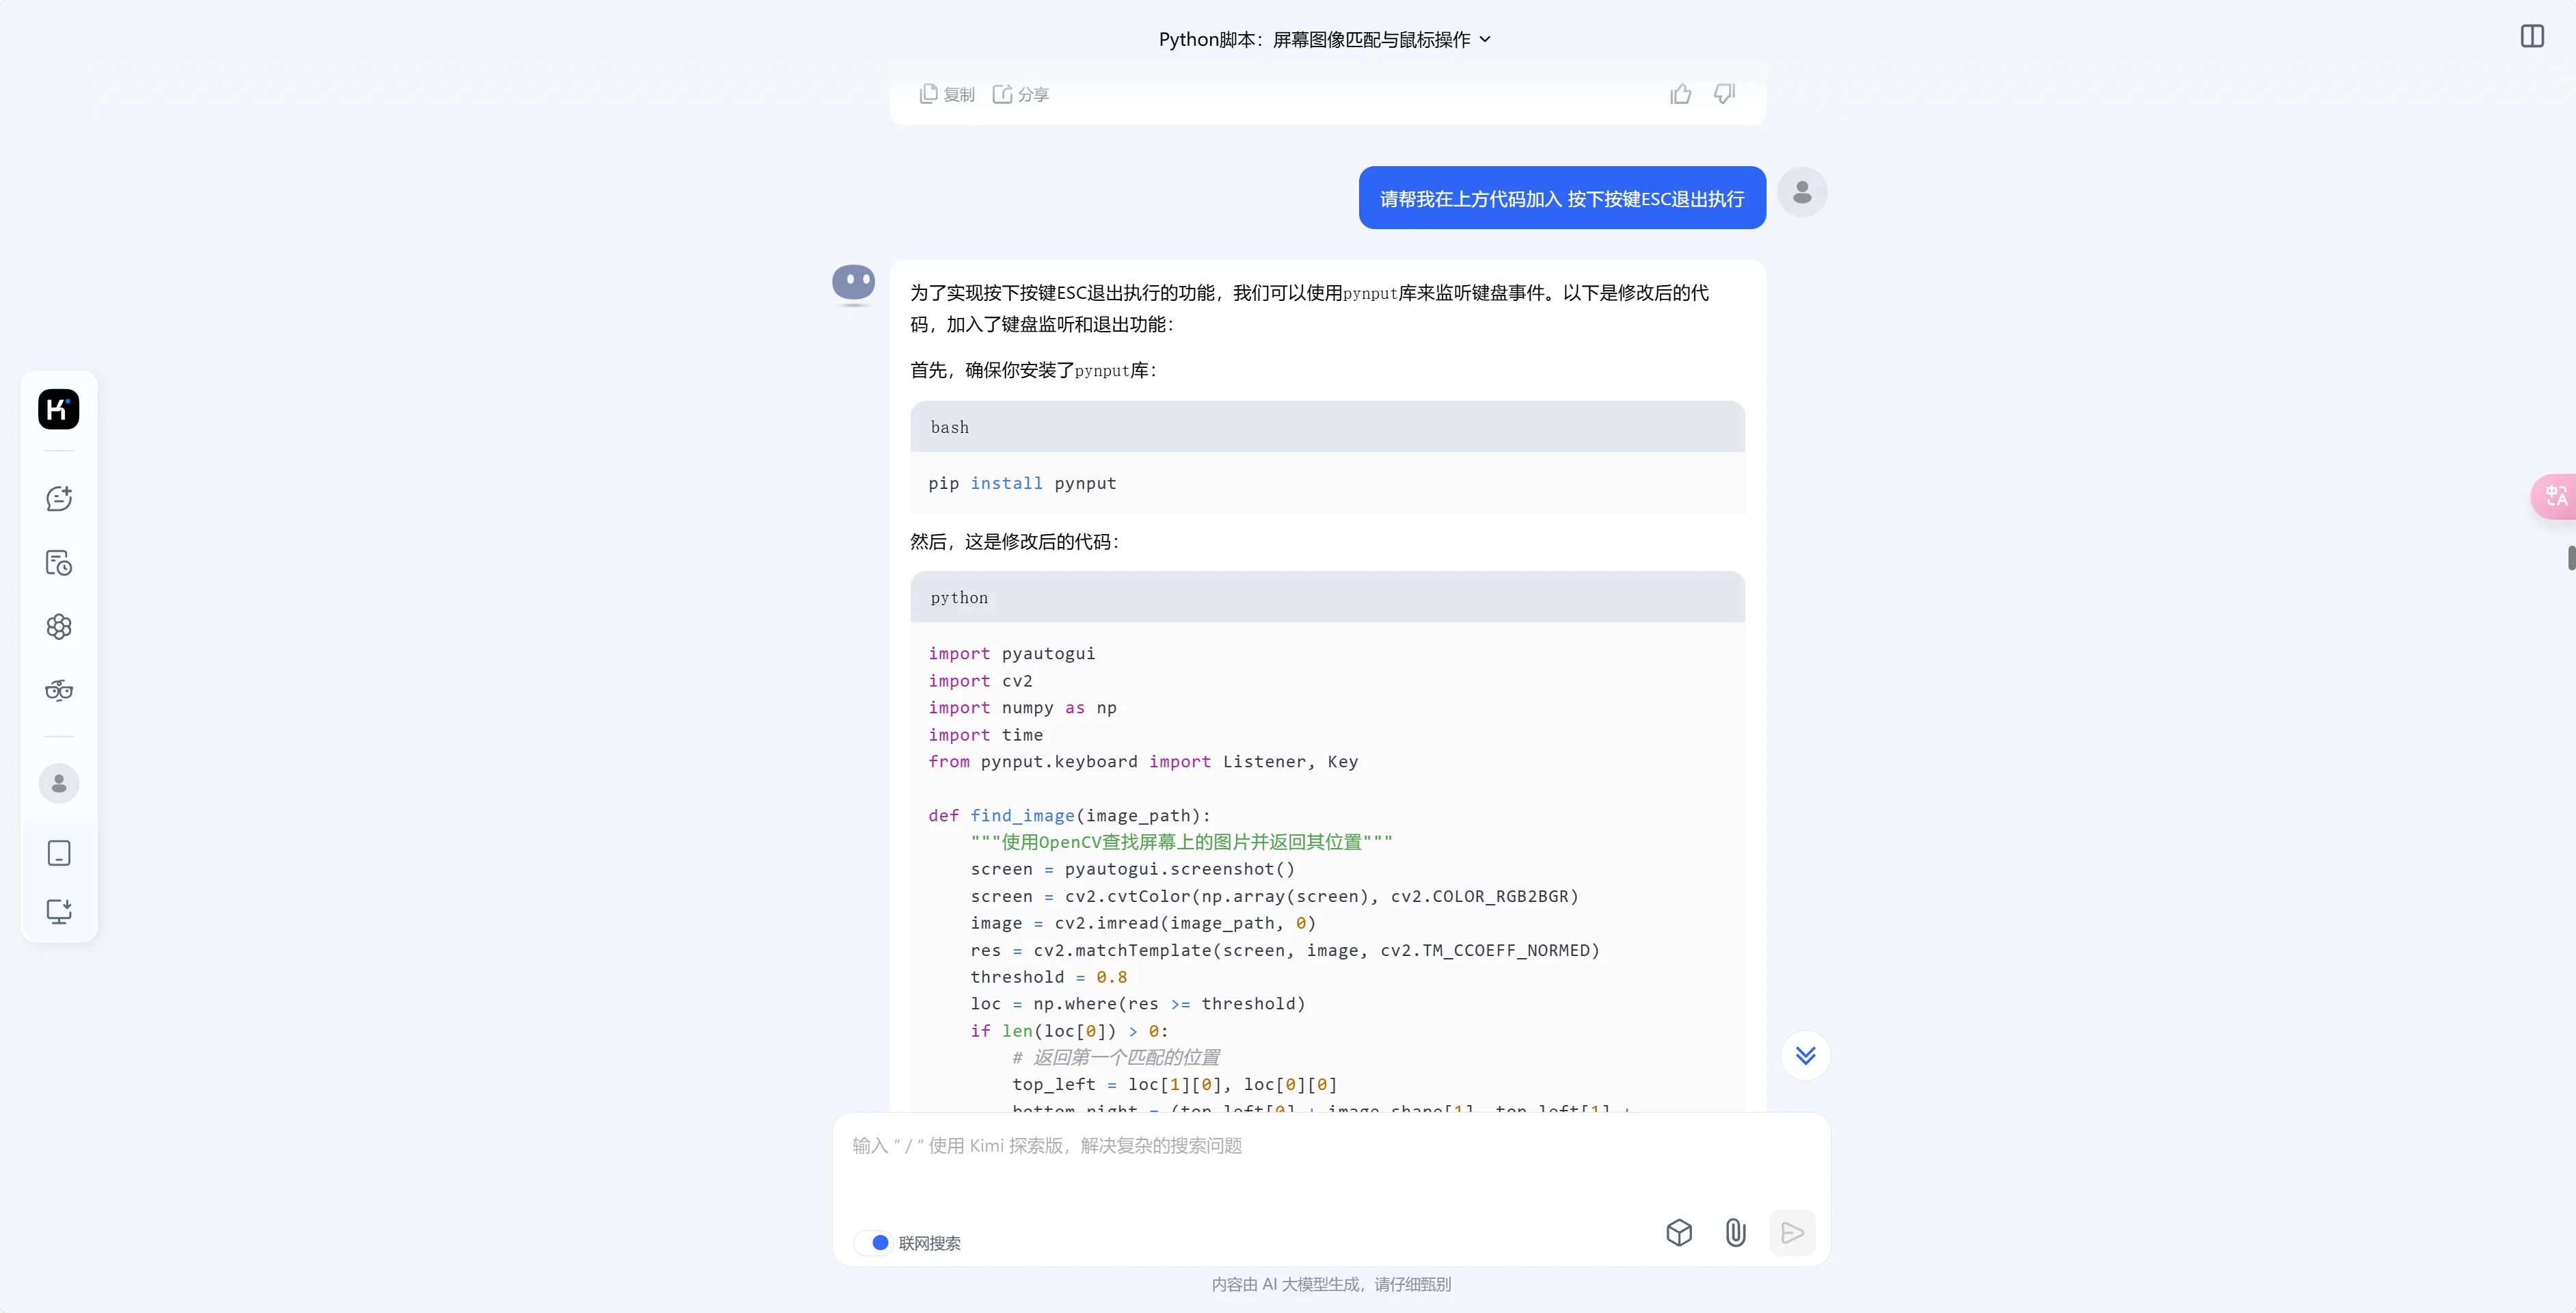
上方的图片给出的运行库是 OpenCV,这个就比 pyautogui 强。
举例子 提出的问题是 用 CV2 库写一段代码图像识别代码,循环查找 P:/1/1.png,如果找到 P:/1/1.png,则 0.2 秒延迟后再移动到 x =541, y=1587 点击一次,点击后移动鼠标到 x =541, y=1087 循环结束,再进入下一个循环,同时循环查找 P:/1/111.png 和 P:/1/5.png,如果找到的是 P:/1/111.png,则 0.2 秒延迟后鼠标移动到 x =541, y=1587 点击一次,1 秒延迟后移动鼠标到 x =559, y=1832 点击一次,0.2 秒延迟后移动鼠标到 x =541, y=1087, 如果找到的是 P:/1/5.png,则 0.2 秒延迟后鼠标移动到 x =541, y=1587 点击一次,1 秒延迟后移动鼠标到 x =559, y=1832 点击一次,0.2 秒延迟后移动鼠标到 x =541, y=1087
import pyautogui
import cv2
import numpy as np
import time
from pynput.keyboard import Listener, Key

def find_image(image_path):
    """使用 OpenCV 查找屏幕上的图片并返回其位置"""
    screen = pyautogui.screenshot()
    screen = cv2.cvtColor(np.array(screen), cv2.COLOR_RGB2BGR)
    image = cv2.imread(image_path, cv2.IMREAD_COLOR)  # 读取彩色图像
    res = cv2.matchTemplate(screen, image, cv2.TM_CCOEFF_NORMED)
    threshold = 0.8
    loc = np.where(res >= threshold)
    if len(loc[0]) > 0:
        # 返回第一个匹配的位置
        top_left = loc[1][0], loc[0][0]
        return top_left
    else:
        print(f"未找到图片:{image_path}")
        return None

# 监听键盘事件  - 这是额外添加的,你只需要对 AI 说防止这段程序无限循环 -
def on_press(key):
    global running
    if key == Key.esc:
        running = False

def on_release(key):
    if key == Key.esc:
        return False

# 主循环
running = True
listener = Listener(on_press=on_press, on_release=on_release)
listener.start()

while running:
    # 循环查找 P:/1/1.png
    found = False
    while not found:
        location_1 = find_image('P:/1/1.png')
        if location_1:
            time.sleep(0.2)  # 0.2 秒延迟
            pyautogui.click(541, 1587)  # 点击指定位置
            time.sleep(0.2)  # 0.2 秒延迟
            pyautogui.moveTo(541, 1087)  # 移动到指定位置
            found = True  # 找到图片,退出循环
        else:
            time.sleep(0.3)  # 未找到图片,继续查找

    # 循环查找 P:/1/111.png 和 P:/1/5.png
    found = False
    while not found:
        location_111 = find_image('P:/1/111.png')
        location_5 = find_image('P:/1/5.png')

        if location_111:
            time.sleep(0.2)  # 0.2 秒延迟
            pyautogui.click(541, 1587)  # 点击指定位置
            time.sleep(1)  # 1 秒延迟
            pyautogui.click(559, 1832)  # 点击指定位置
            time.sleep(0.2)  # 0.2 秒延迟
            pyautogui.moveTo(541, 1087)  # 移动到指定位置
            found = True  # 找到图片,退出循环
        elif location_5:
            time.sleep(0.2)  # 0.2 秒延迟
            pyautogui.click(541, 1587)  # 点击指定位置
            time.sleep(1)  # 1 秒延迟
            pyautogui.click(559, 1832)  # 点击指定位置
            time.sleep(0.2)  # 0.2 秒延迟
            pyautogui.moveTo(541, 1087)  # 移动到指定位置
            found = True  # 找到图片,退出循环
        else:
            time.sleep(0.3)  # 未找到图片,继续查找

listener.stop()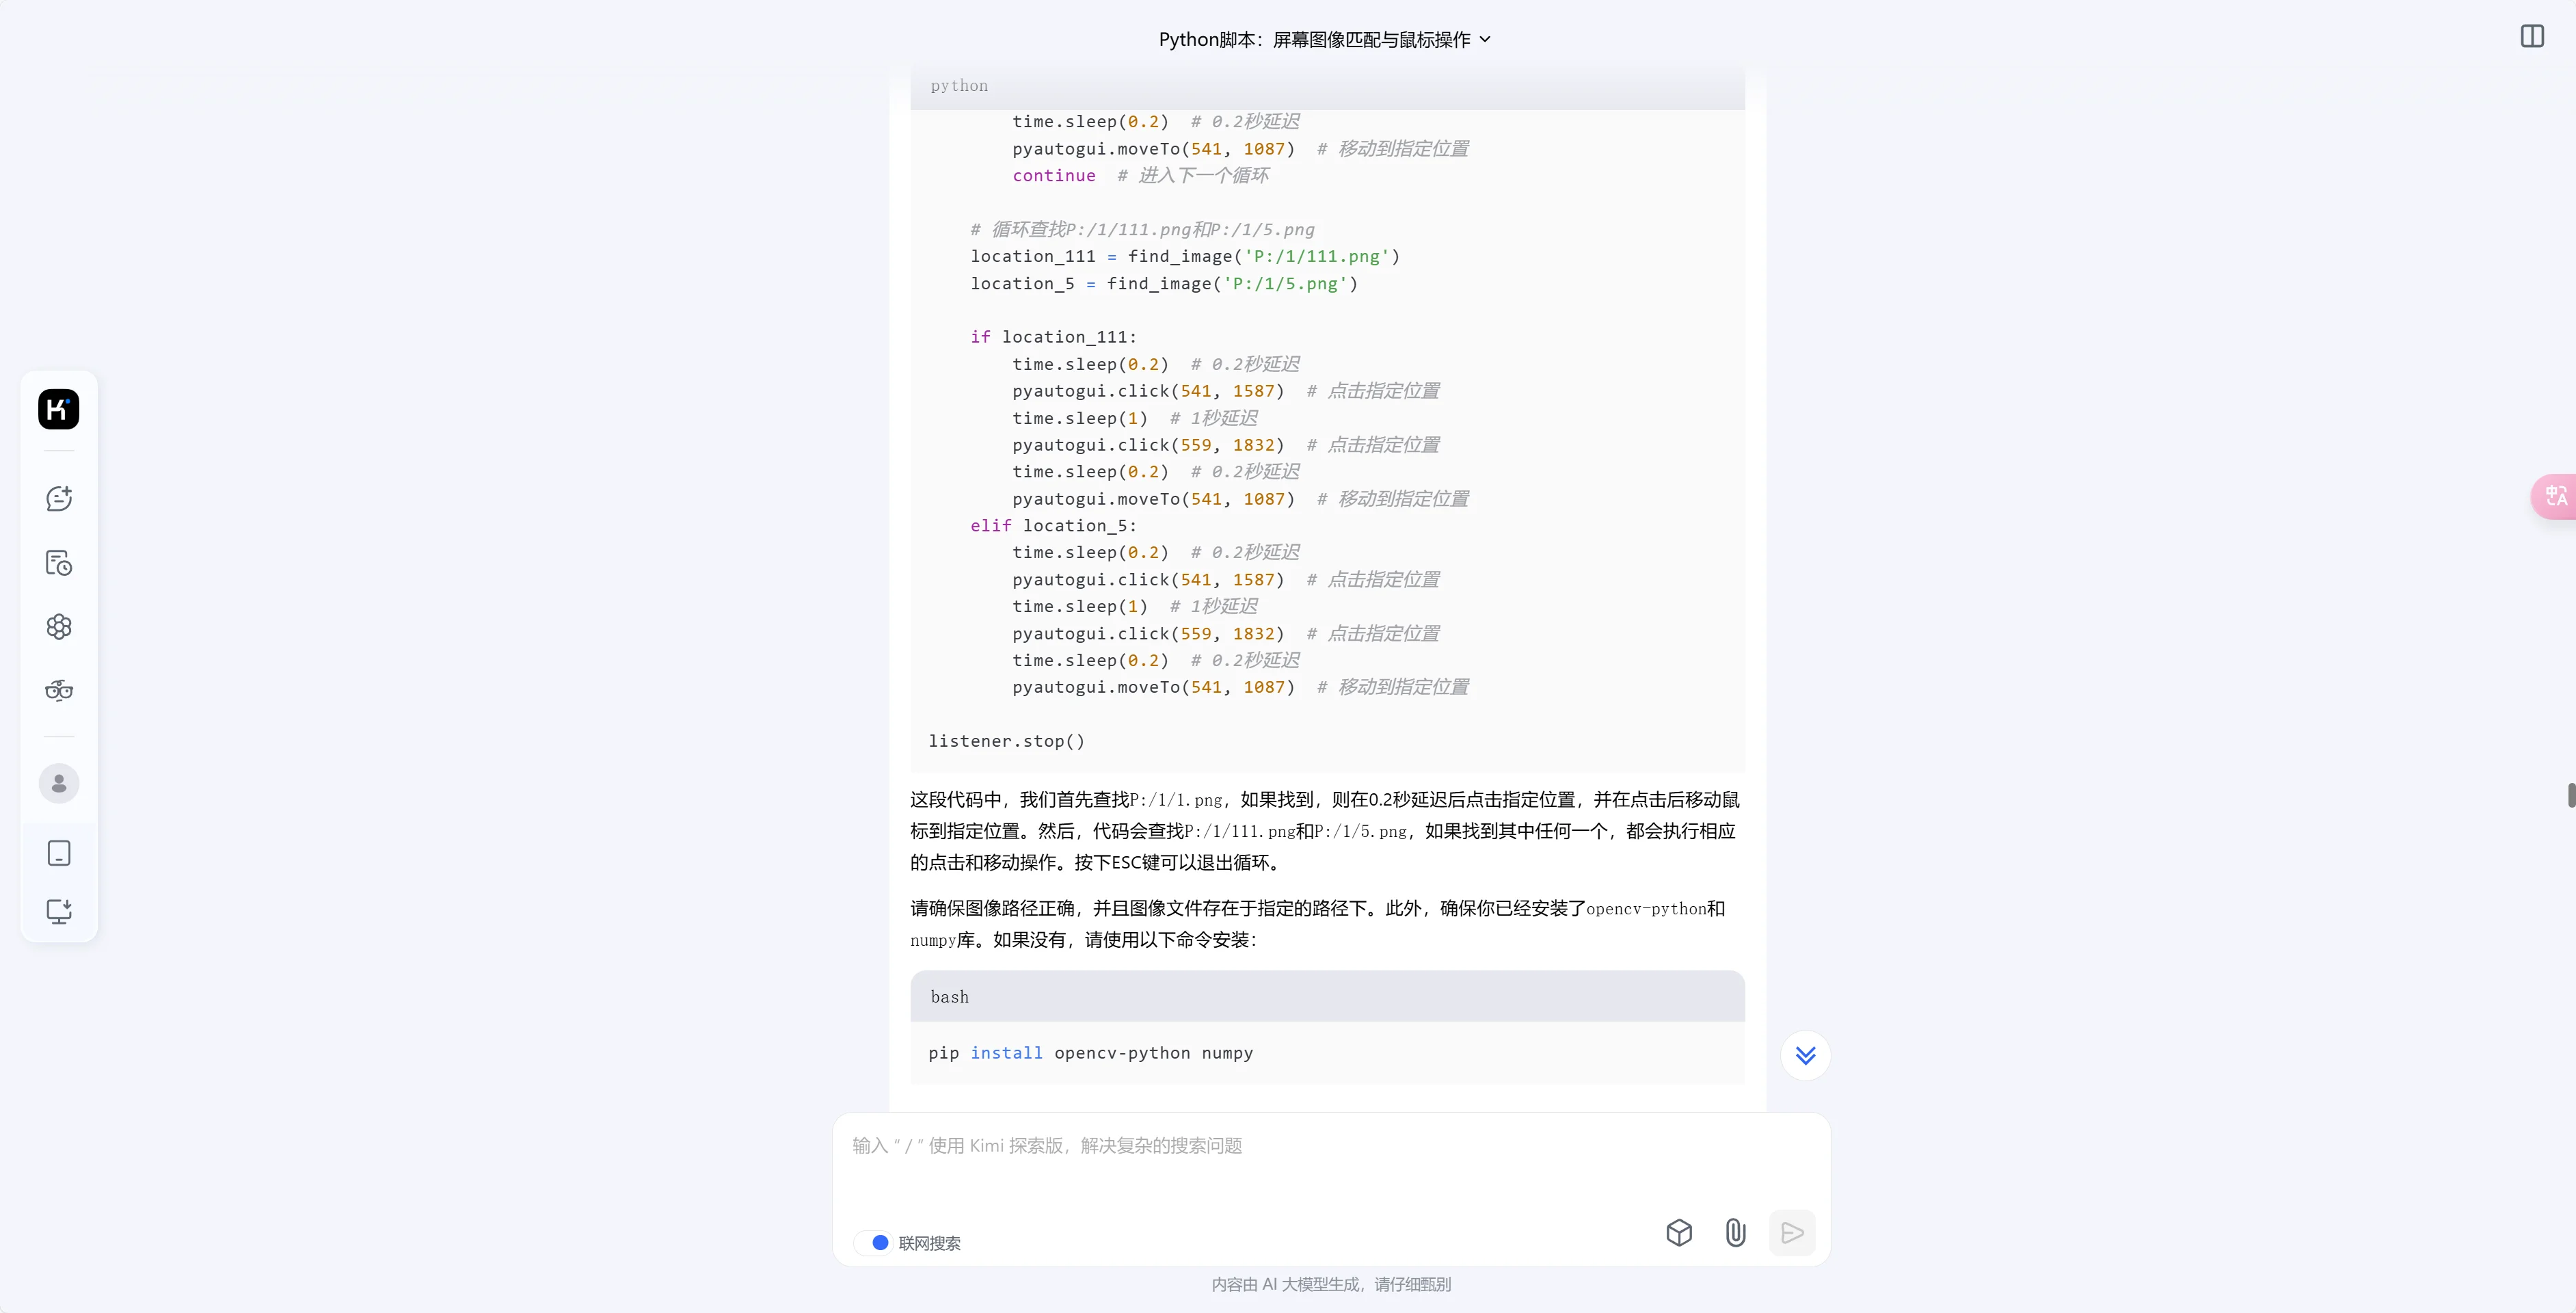
移动某个窗口到固定的坐标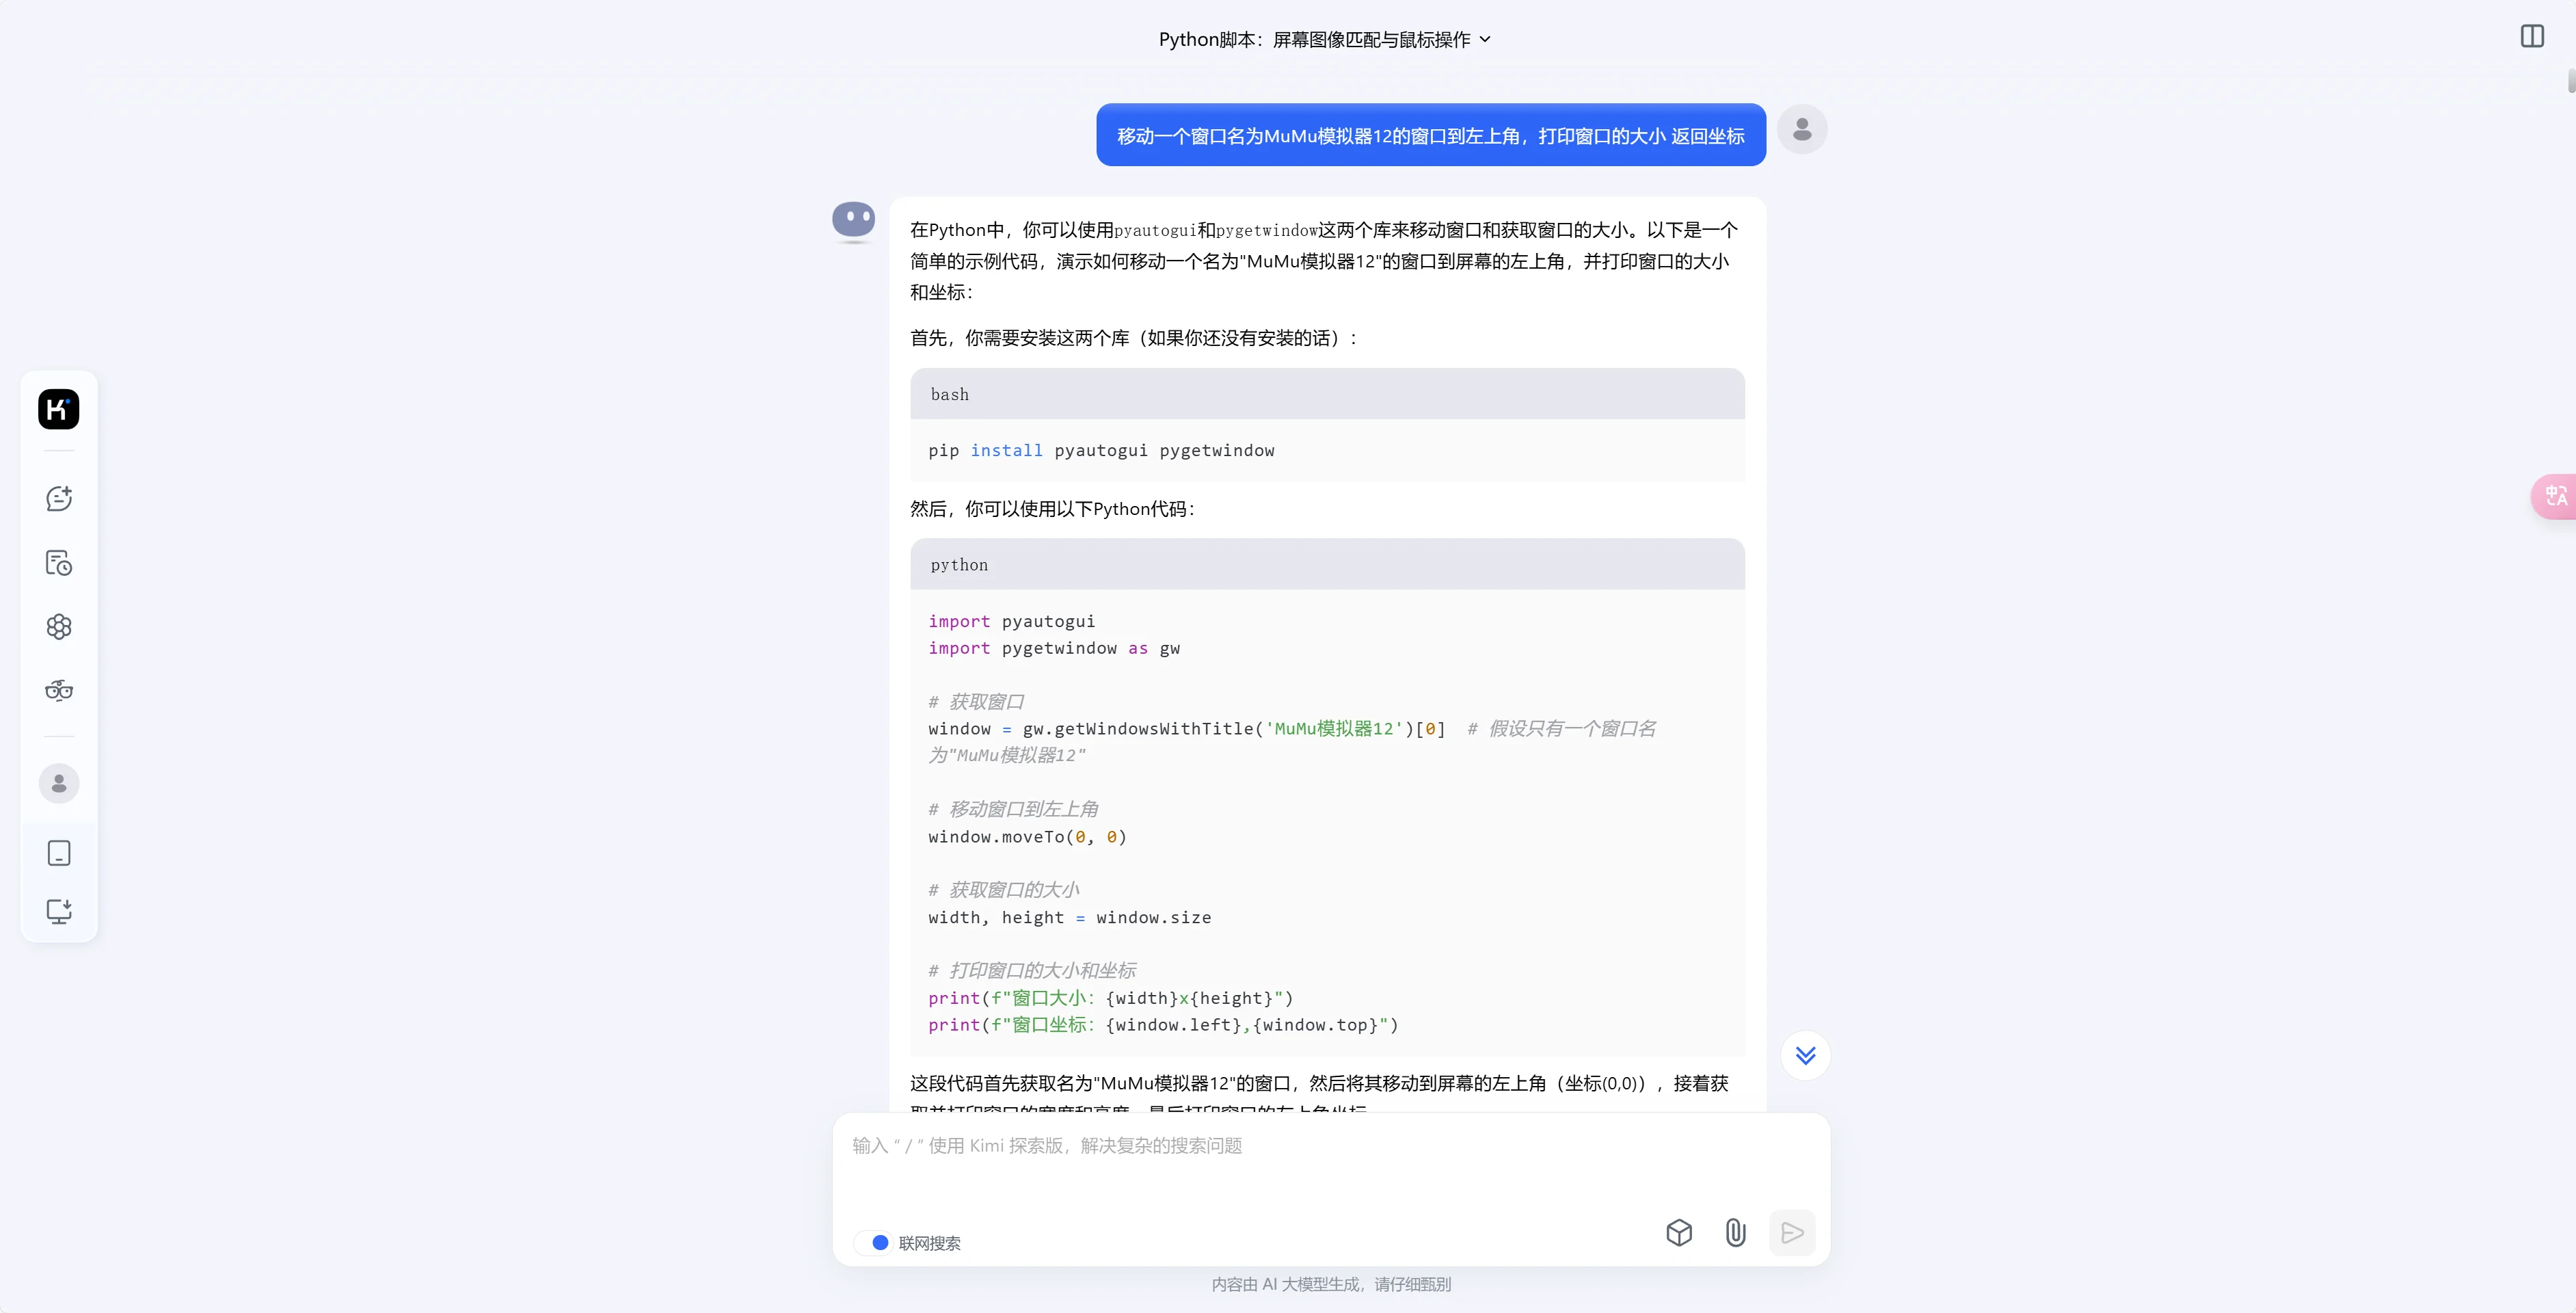
简单的挂机脚本结合上面那段代码即可运行,坐标需要自己调试一下
import pyautogui
import cv2
import numpy as np
import time
from pynput.keyboard import Listener, Key
import pygetwindow as gw

# 获取窗口
window = gw.getWindowsWithTitle('MuMu 模拟器 12')[0]  # 假设只有一个窗口名为 "MuMu 模拟器 12"

# 移动窗口到左上角
window.moveTo(0, 0)

# 获取窗口的大小
width, height = window.size

# 打印窗口的大小和坐标
print(f"窗口大小:{width}x{height}")
print(f"窗口坐标:{window.left},{window.top}")


def find_image(image_path):
    """使用 OpenCV 查找屏幕上的图片并返回其位置"""
    screen = pyautogui.screenshot()
    screen = cv2.cvtColor(np.array(screen), cv2.COLOR_RGB2BGR)
    image = cv2.imread(image_path, cv2.IMREAD_COLOR)  # 读取彩色图像
    res = cv2.matchTemplate(screen, image, cv2.TM_CCOEFF_NORMED)
    threshold = 0.8
    loc = np.where(res >= threshold)
    if len(loc[0]) > 0:
        # 返回第一个匹配的位置
        top_left = loc[1][0], loc[0][0]
        return top_left
    else:
        print(f"未找到图片:{image_path}")
        return None

# 监听键盘事件
def on_press(key):
    global running
    if key == Key.esc:
        running = False

def on_release(key):
    if key == Key.esc:
        return False


# 主循环
running = True
listener = Listener(on_press=on_press, on_release=on_release)
listener.start()

while running:
    # 循环查找 P:/1/1.png
    found = False
    while not found:
        location_1 = find_image('P:/1/1.png')
        if location_1:
            time.sleep(0.2)  # 0.2 秒延迟
            pyautogui.click(541, 1587)  # 点击指定位置
            time.sleep(0.2)  # 0.2 秒延迟
            pyautogui.moveTo(541, 1087)  # 移动到指定位置
            found = True  # 找到图片,退出循环
        else:
            time.sleep(0.3)  # 未找到图片,继续查找

    # 循环查找 P:/1/111.png 和 P:/1/5.png
    found = False
    while not found:
        location_111 = find_image('P:/1/111.png')
        location_5 = find_image('P:/1/5.png')

        if location_111:
            time.sleep(0.2)  # 0.2 秒延迟
            pyautogui.click(541, 1587)  # 点击指定位置
            time.sleep(1)  # 1 秒延迟
            pyautogui.click(559, 1832)  # 点击指定位置
            time.sleep(0.2)  # 0.2 秒延迟
            pyautogui.moveTo(541, 1087)  # 移动到指定位置
            found = True  # 找到图片,退出循环
        elif location_5:
            time.sleep(0.2)  # 0.2 秒延迟
            pyautogui.click(541, 1587)  # 点击指定位置
            time.sleep(1)  # 1 秒延迟
            pyautogui.click(559, 1832)  # 点击指定位置
            time.sleep(0.2)  # 0.2 秒延迟
            pyautogui.moveTo(541, 1087)  # 移动到指定位置
            found = True  # 找到图片,退出循环
        else:
            time.sleep(0.3)  # 未找到图片,继续查找
即使不会 python,也没关系,报错,不明白的命令也直接问 AI。


